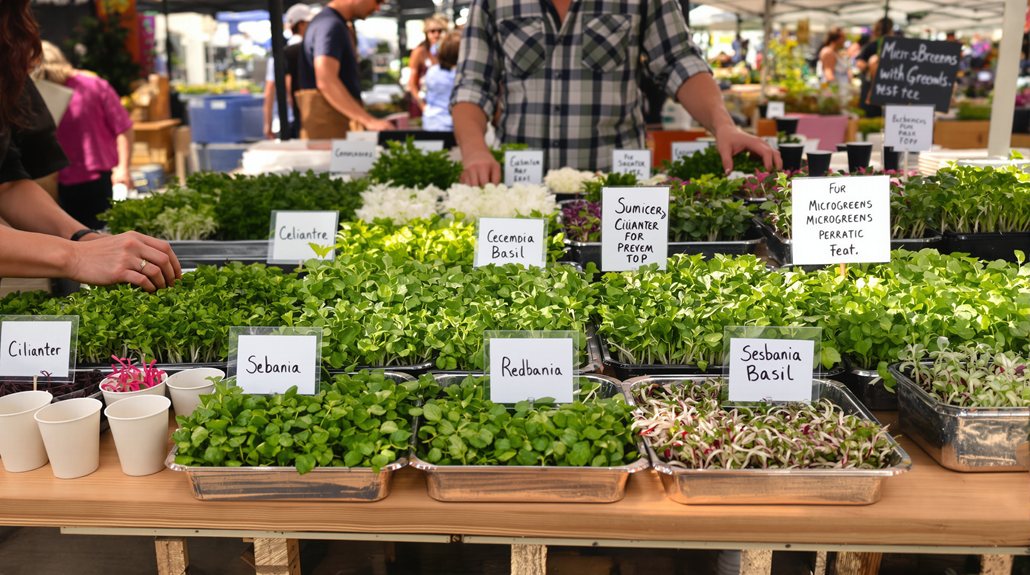
A display waits for customers. A selling booth creates reasons to stop, look, and buy. Replace one clamshell with a live tray, scissors, and a cutting board. Cut samples in front of shoppers to prove freshness fast. Raise your product to 48–60 inches so it hits standing eye level. Keep signs to three lines: variety name, flavor, and one use for tonight. There’s more to each step that’ll change how your setup performs.
Key Takeaways
- Raise your product to 48–60 inches eye level and center your best-selling tray to create a layout that invites buying.
- Replace at least one clamshell with a live tray, scissors, and cutting board to demonstrate freshness and prompt immediate purchases.
- Cut samples directly in front of customers using a front-edge sampling station to reduce hesitation and prove product quality.
- Use three-line signs naming variety, flavor, and one tonight-use suggestion, keeping text readable from five feet away.
- Match your booth setup to observed market behavior—urban shoppers respond to signage; rural shoppers respond to sampling stations.
What is the difference between a farmers market booth that displays and one that sells?
Most vendors set up a table, put product on it, and wait. That’s a display.
It doesn’t ask the customer to do anything, and specialty greens like microgreens won’t move fast without a setup that creates a reason to stop, look, and buy.
Why most vendor setups invite browsing but not buying
Walk past any farmers market and you’ll see the same setup: product on a table, a price sign, maybe a banner. That’s a farmers market display. Microgreens vendors do this constantly, and it costs them sales.
The problem isn’t the product. It’s the setup. Nothing in that booth gives a customer a reason to stop and commit.
Browsers keep moving. Buyers stop when something pulls them in. A cutting board, live trays, and a tasting cup do that. A flat table with labeled clamshells doesn’t.
You’re not just selling greens. You’re giving someone a reason to become a regular. That starts with a booth that asks for the sale, not one that waits for it.
What has to change about a booth setup for specialty greens to move quickly
Specialty greens almost always stall on a flat table. Shoppers glance and keep walking. Your microgreens farmers market booth setup has to break that pattern fast.
Raise your product to between 48 and 60 inches. That’s standing eye level. Product at that height gets picked up more often than product sitting flat.
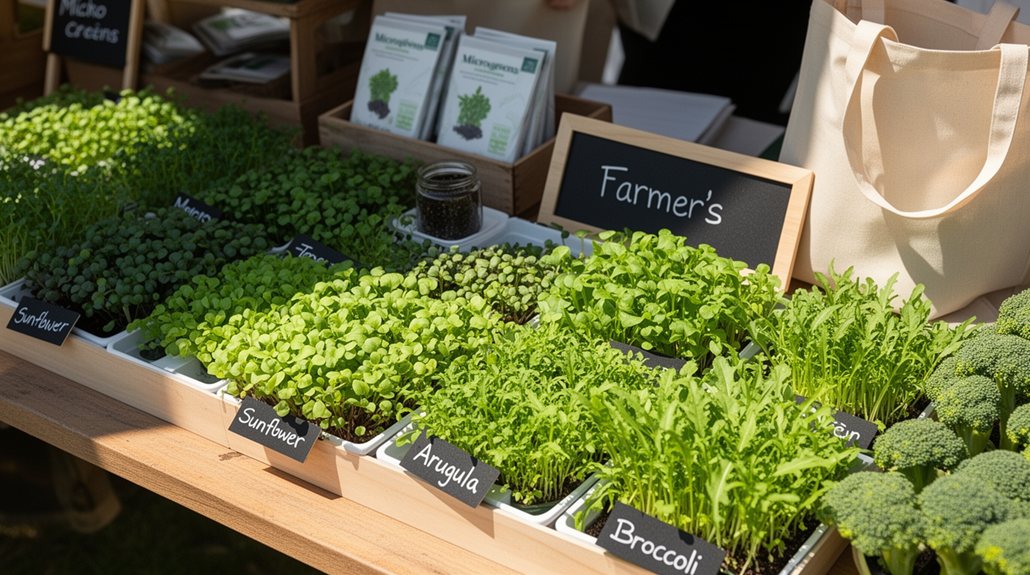
Replace at least one clamshell display with a live tray. Set scissors and a cutting board next to it. That single change signals freshness without you saying a word.
Add a small sign per variety. Name it, describe the flavor, and suggest one use the customer can do tonight. That’s the whole sign. Vendors who follow that format move product. Vendors who don’t are still explaining microgreens at 11 a.m.
What does an effective microgreens farmers market booth setup look like?
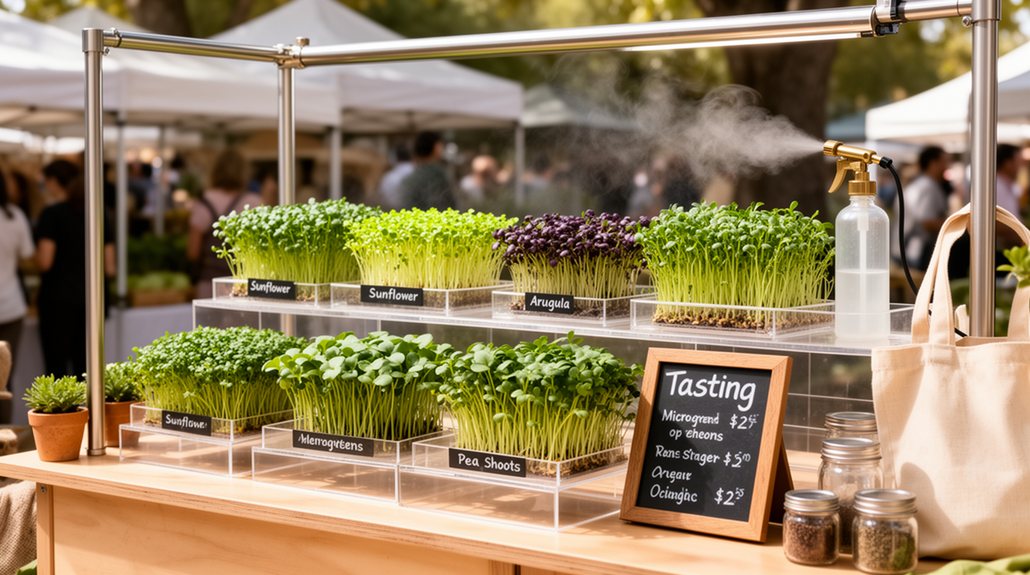
Your booth layout does three jobs at once: it shows the product, proves it’s fresh, and tells the customer what to do with it.
A live tray with scissors and a cutting board does all three better than a row of clamshells ever will.
Height and signage close the gap between a customer who looks and one who buys.
The live tray and sampling station setup that drives first purchases
Most vendors set up a table, put out product, and wait. That’s a display. It’s not a sales setup.
Live trays change that. Put a tray on your table with scissors and a small cutting board. Cut a sample in front of the customer. That moment shows freshness better than any sign can.
Your farmers market sampling station needs four things: scissors, a clean cutting board, small paper cups or tasting forks, and a simple sign.
The sign does one job. Name the variety, name the flavor, suggest one use. Write: “Sunflower Microgreens. Nutty flavor. Add to any salad tonight.” Skip the nutrition facts. Skip the growing story. One use. That’s it.
What height, layout, and signage do for customer engagement
When product sits flat on a table, customers walk past it. Raise your farmers market booth height display to between 48 and 60 inches. That’s standing eye level for most adults.
Use wire grid panels or tiered risers to get trays off the table. Stack levels at 12-inch intervals. Front row stays lowest, back row goes highest.
Signage goes at eye level too. Label each variety with three things: the name, the flavor, and one use for tonight. Sunflower microgreens. Nutty flavor. Add to any salad or sandwich. That’s it.
Keep your layout simple. Put your best-selling tray dead center. Sampling station sits on the left or right, never behind the product.
What should your farmers market booth signage say?
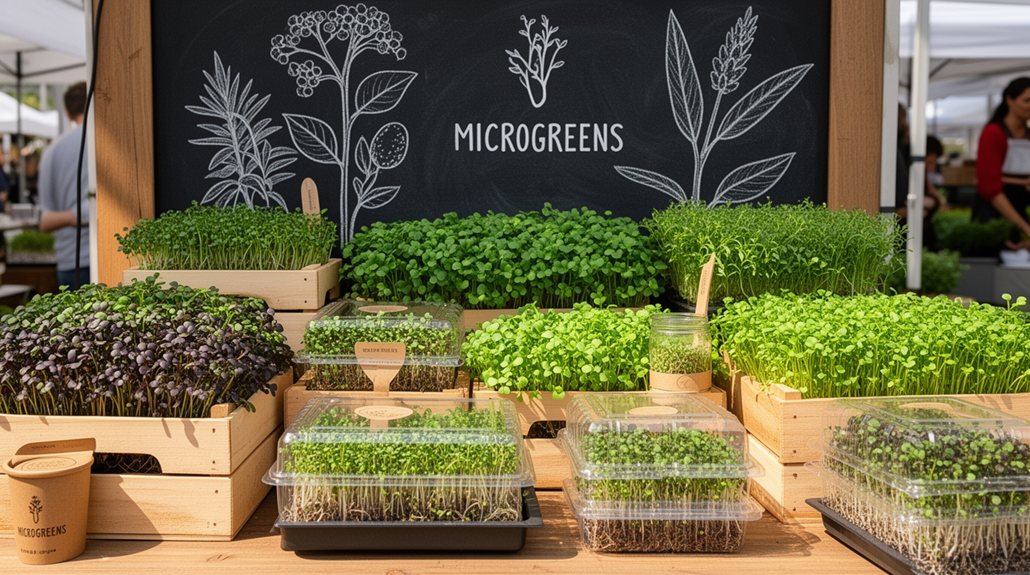
Most vendors write signs that list health benefits. That doesn’t sell microgreens. Your sign needs three things: the variety name, the flavor, and one use the customer can do tonight.
The variety, flavor, and one-use formula that works better than nutritional claims
Nutritional claims don’t close sales at a farmers market. Customers don’t stop walking because a sign says “high in vitamins.” They stop because something looks good and feels familiar.
Your farmers market booth signage needs one formula. Name the variety. Name the flavor. Suggest one use they can do tonight.
Example: Sunflower Microgreens. Nutty flavor. Add to any salad or sandwich.
That’s it. No growing process. No protein percentages. No health jargon.
The one-use line is the most important part. It removes the customer’s hesitation. They already know what to do with it when they get home.
Keep each sign to three lines. Print it large enough to read from five feet away.
Why one clear use suggestion outperforms a list of health benefits
Health benefits sound good in a brochure. At a market booth, they slow the sale down.
A customer standing in front of your table already knows microgreens are healthy. That’s not what stops them from buying.
What stops them isn’t knowing what to do with the product tonight.
Your sign solves that. Write the variety, the flavor, and one use. “Sunflower Microgreens. Nutty flavor. Add to any salad or sandwich.” That’s it.
Learning how to sell microgreens at farmers market comes down to this: meet the customer where they are. They want to belong to a group of people who cook well. Give them one easy move.
Drop the benefits list. It creates distance. One use creates a sale.
How do you manage microgreens at a summer farmers market booth?
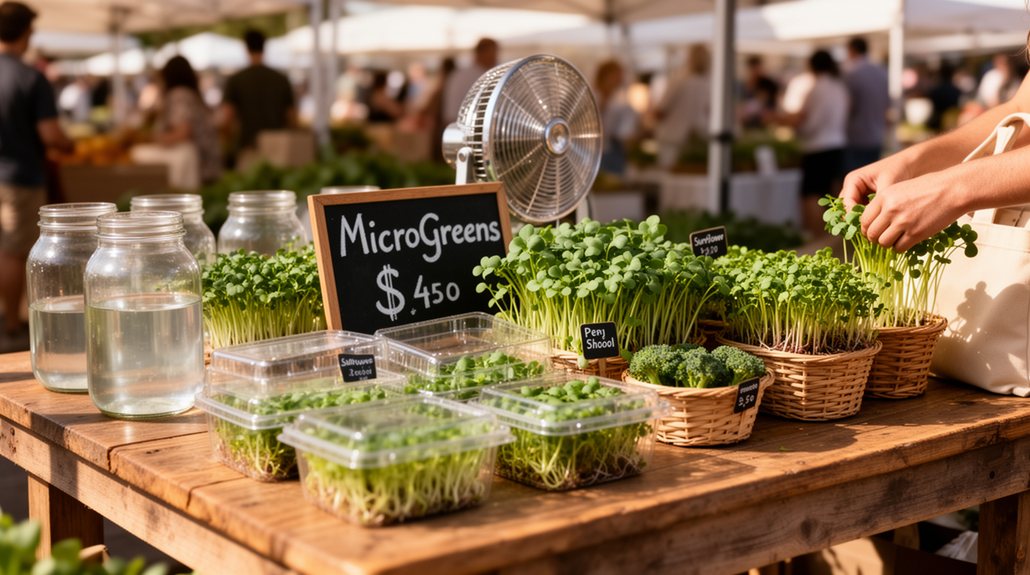
Summer heat kills cut microgreens fast. From June through August, you’re working against wilting, browning, and lost product before noon.
A $30 cooler and a single cold pack are the difference between sellable product and compost.
Heat management for cut product versus live trays in June through August
Keeping cut microgreens alive in June, July, and August heat takes more than shade.
Pack cut clamshells in a small cooler with a cold pack underneath them. Rotate product from the cooler to the table in small batches. Don’t put everything out at once.
Live trays hold up better in direct heat than cut product. They’re your best option for summer farmers market booth tips. Keep them out of direct sun and water them the night before.
A 10×10 canopy isn’t optional in summer. Position it so shade falls directly over your product table during peak hours, usually 9 a.m. to noon.
Check your cooler temperature every 60 minutes. Cut product above 45°F starts to wilt fast.
What a $30 cooler and a cold pack do for your product quality in 90-degree weather
A $30 cooler changes what’s possible at a 90-degree market. Slide one cold pack under your cut clamshells and they stay table-ready for four to six hours.
Without a cooler, cut product wilts fast. Wilted greens don’t sell, and other vendors notice.
Keep the cooler under your table. Pull clamshells out one or two at a time. Restock from the cooler as you sell.
Live trays handle heat better than cut product, but they still need shade. Your 10×10 canopy isn’t optional at a summer farmers market booth setup.
Run both. Live trays up front. Cut product cold in the cooler. That’s the system that holds through August.
What should your booth communicate about who you are as a grower?
Your booth should speak directly to the buyer you already identified during your pre-application market visit.
A food-literate urban buyer doesn’t need a backstory. They need clear variety names and origin information, fast.
How the pre-application market visit should shape booth design decisions
Before you design anything, walk the market as a customer. Note what other vendors sell, how they display it, and where buyers stop.
Look for gaps. If no one sells specialty greens, that’s your opening.
Watch the buyers. Urban, food-literate shoppers move fast and read labels. Rural shoppers slow down at sampling stations. Knowing how to set up a farmers market booth starts here, not at the supply store.
Count the shade structures. Note the flow of foot traffic past each stall.
Your booth design should answer what you saw. If buyers stopped at interactive displays, build one. Match your setup to the market you actually visited.
Why the same booth setup works differently at a food-literate urban market versus a rural seasonal market
The same booth that sells out at a Portland Saturday Market can sit dead quiet at a rural county fair three miles away.
Urban buyers already know what microgreens are. They want variety names and origin details. Put that information front and center on your signs.
Rural buyers need the sampling station first. Set it up at the front edge of your table. Scissors, a cutting board, small cups. Let them taste before they decide.
These are two different farmers market booth ideas for produce. One leads with information. The other leads with experience.
Dr. Booker T. Whatley’s principle applies here. Know your customer before you pick your market. Your booth communicates who you are. Make sure it’s talking to the right person.
Frequently Asked Questions
How Many Live Trays Should You Bring to Your First Market?
Bring 6 to 8 live trays to your first market. That’s enough to fill your table, show variety, and replace any tray you cut from during sampling without running short mid-day.
Can You Sell Microgreens at a Farmers Market Without a Food Handler’s License?
You might not need one, but it depends on your state. Check your local health department’s cottage food laws before you sell. Some states exempt whole plants entirely.
What Is the Best Table Size for a 10X10 Microgreens Booth?
A 6-foot table works best. It gives you room for live trays, a sampling station, and signage without crowding your 10×10 space. Leave walking room behind you.
How Do You Price Microgreens Compared to Other Vendors at the Same Market?
Walk the market first. Note every vendor’s prices. Set yours 10–15% higher, then anchor that price with a live tray and sampling station. Your product’s freshness justifies the difference.
Should You Accept Credit Cards at a Farmers Market Microgreens Booth?
Yes, you should. Buyers who don’t carry cash will skip your booth entirely. Square and PayPal Here both work offline. You’ll lose sales without a card reader.
Leave a Reply